Vectorize An Image In Easy Steps
When you vectorize an image in a digital world, it is necessary for you to learn the difference between vector and raster images.
You will be better prepared to take full advantage of the digital art print industry if you understand how to create vector images?
A raster-to-vector service converts your image to vector format. What exactly is a vector format? Unlike raster images, which are made up of bits or pixels, vector graphics are made up of geometric designs and mathematical tools.
Table of Contents
What Exactly Are Raster Images
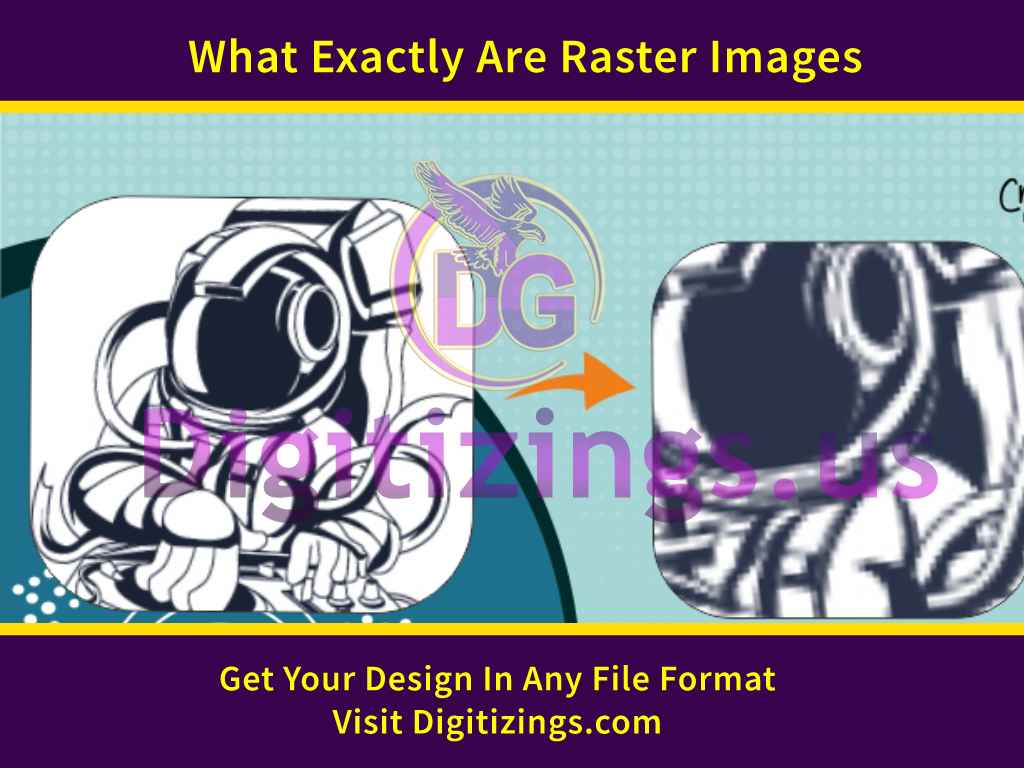
Find out more about the individual pixels that make up the raster picture and the numerous elements that can be enhanced in a raster image without compromising quality. Vectorize an image is composed of lines and shapes.
You may enable them to any size you choose without degrading them. Raster pictures may be too small to be useful to you, but if you convert them to vector graphics, you can accomplish that using Adobe Illustrator.
What Is A Vector Image Exactly?
A vector image is one in which the dots making up the image are each considered to be a component in a whole image. To vectorize an image may include image data that can be found in raster images. The majority of photographs on the internet are raster images, which use two-dimensional pixels.
Unlike conventional pictures, vector-onion pictures don’t make static squares. In vector photos, the size and shape of each item remains constant after scaling down the picture, which enables the specific portions to be extracted, allowing for clear images and bright colors.
You do not have to worry whether images change their quality if they’re scaled up or down. Their coloring is maintained even at the resampling level because their polygons are preserved. The distinction in file types is clear when you see the SVG report.
raster pictures, such as JPG and GIF, are typically visual data formats used in raster images. One technique to transforming a jpg file into an SVG one is to merely change to the exact height, width, and caliber of whatever image that you need.
It’s a simple and quick technique that can be used to produce remarkable results. Adobe Illustrator makes it simple to convert photos into vectors without compensating for quality. Here is a step-by-step guide on vectorizing an image. Here’s how to use Adobe Illustrator to transform a picture into vector. Concern yourself with this matter now.
Easy 7 Steps to Vectroize An Image
Step Number 1
Bear in mind that there will probably be times when showcasing a specific vector image consumes a long time compared with other images, because the vector information in the image will need to be edited and enlarged.
There are some images, but those sculptures perform best as vectorize an image than others.It is better to choose individual challenges as opposed to a whole landscape or something like this.
Ideally, the snapshot should have a white background and a definite resolution. It should be available in formats such as jpg, gif, or png.
Step Number 2 : Select A Picture Suggestion Preset
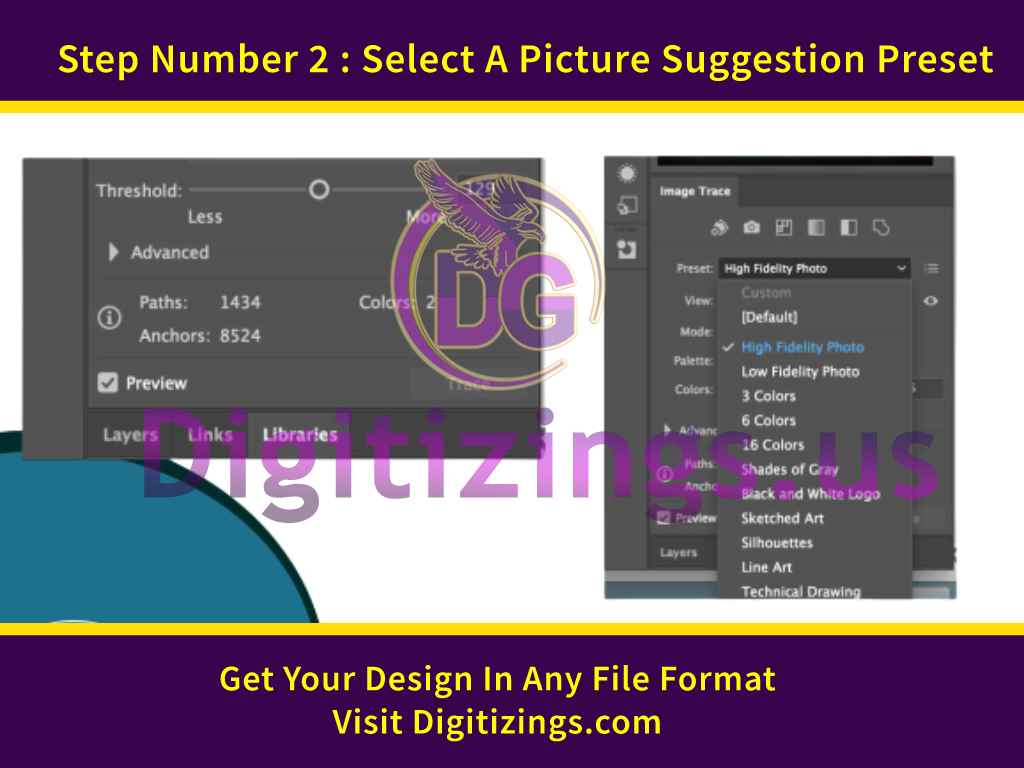
Illustrator allows you to vectorize an image using an image trace tool called vectorize. You can use the preset closest to your source material to obtain the visual effect you desire.
Two of the popular colors photo hint presets are available
• Sun shades of grey photograph hint preset
• Silhouettes photograph trace preset
You have two options: high consistency image and low fidelity image.
These digital photographs provide a large amount of freedom in the course of synthesis since they don’t have the same pixel layout and aren’t defined by a specific shape. These are ideal for photos or aesthetic artwork, such as the example image with three colorings, six colors, and sixteen shades.
These presets are ideal for graphic art that consists of flat color and grayscale. The preset creates a detailed black-and-white image, making it ideal for logos with minimal branding.
It is much like silhouette art, line art, and technical drawing, but is not appropriate for special photographs. To begin with, open Illustrator and select your image.
Choose the options you need to readily see at the top of your Illustrator window. To convert pictures to snap shots in Illustrator, choose your preset by clicking the arrow beside the photo suggestion.
To begin tracing, click on it.
Step Number 3: Use A Snapshot Trace To Vectorize The Image
The tracing procedure will automatically change the image of your image after it is processed when you press a button. Many subtle changes can be detected after this process, but the overall look should remain consistent.
For example, the following is an image of its origin before it was processed. An original image showing the pixels after the process of transformation.
After vectorize an image, zoom in on the image. Even though the vectorized image has largely finished blurring the original picture, the blown up version looks much sharper.
You will notice that flattened colors continue to shape even if the image is zoomed. Zoom out and the image should still be similar to the original.
While the upper image may look clearer in some situations, the quality of our vectorized image remains high.
Step Number 4: Improve The Quality Of Your Traced Image
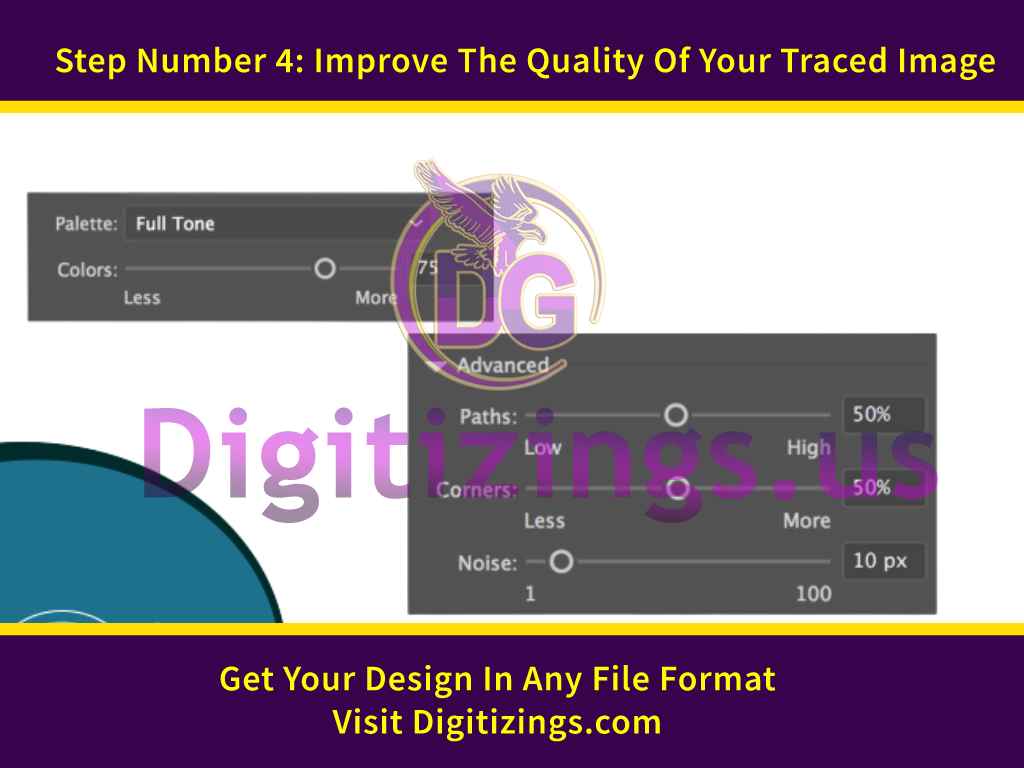
Use the Image Trace panel to edit the conversion of raster images. Change the mode from Color, Grayscale, and Black and White to switch between different modes. Adjust the slider in the Colors section to make the vector image simpler or drag it to the left to improve an image with more details.
If you’re satisfied with your default settings and wish to reuse them, click the Modify Presets button beside the presets option. Your default settings can now be saved as a new preset.
Step Number 5: Separate The Colors
Each coloring of your original image has been broken up into individual bits of information that can be restructured into vector data. When you finish this process, you can now vectorize the image.
Organize your objectives by enlarging your work using the choice at the top of the window and selecting Make Bigger.You can select the vector image to see the document’s composite forms.
All shapes are outlined in blue, then, right-click on this image and select Ungroup in the drop-down menu. This should allow you to decompose the color agencies into their individual shapes.
Right click in the layers panel and select Ungroup then you will see the color agencies of the green phase have been dismantled to the color agencies of the yellow phase.
Step Number 6: Make Changes To Your Vector Image
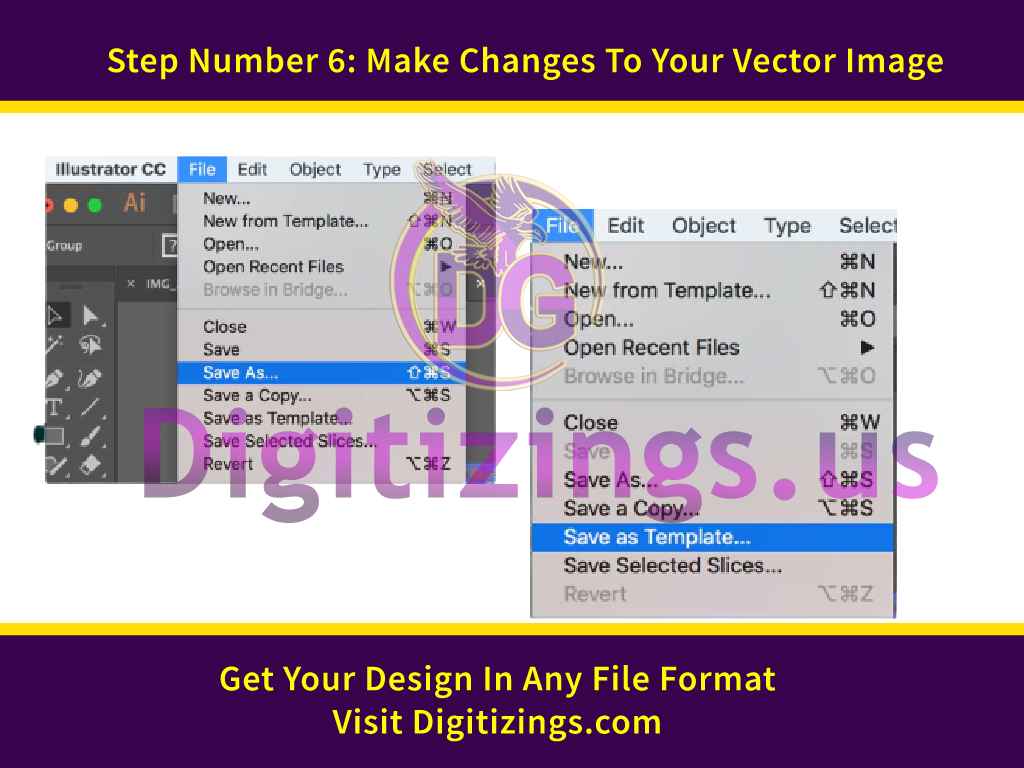
After transforming a raster image into a vector image, you have full freedom to alter the image. Begin by deleting any color groups that you want to. You may select fill color groups by clicking the type and clicking selecting equal fill color.
This function will select all colours exactly the same shade as the one selected using your choice tool (a).
Afterward, on your loan, utilize backspace to get rid of vectors. If you must exchange or broaden any color team, use the direct selection instrument in order to select the layer. Afterward, utilize pens or brushes to exclusively fill in nonexistent places or include all the more hues into your layout.
Step 7: Save Your Photograph
We are now prepared saving the digital photograph as a vector in Illustrator: specifying a file storage facility to have top-quality file. There is a diverse variety of vector image formats to choose from, such as PDF, AI, EPS, SVG, and more.
Once you are done editing your image, go to File > Export > Export As.Click into the graphic, name your file, then select SVG in the save this document setting window. After saving your first SVG, it’s as easy as clicking Save. There’s your vectorize an image.
Vectorize an image can be useful for photographic illustrations where there’s a scarcity of information in the future. Most logos are saved as vector graphics because logos are almost always enlarged and in this way.
An important characteristic of a vector picture is that it can be enlarged indefinitely without losing its quality. No matter how much you zoom in or how you scale a vector picture, it will always be high caliber.
By reading this tutorial, you will learn how to convert raster to vector images. Using these techniques and hiring professionals in your business, you will benefit from succeeding in great detail. Remember that vector files can be quite big, and that they’ll take more time to load and modify.