
3 Unique Procedure For Perfect Applique Aphabets
For the perfect applique alphabets his article offers assorted ways to make homemade decals. The applique letters can be sewn on to clothing, accessories and home decors to create diverse interior designs.
As you start to do appliqué, you will reach the point when all your closet space is occupied by fabric scraps for appliqué. And how to appliqué is not in the least bit a concern with so many letters available in all styles of fonts so many to appliqué on so many projects.

Table of Contents
Introduction
There are many methods by which you can take on perfect applique alphabets. They’re fashionable choices for embellishing items of all kinds, including chairs, T-shirts, blankets, bed linens, pillowcases, quilts, and many more. Read these simple strategies for the best ways to finish applique lettering.
How to easily design the letter for perfect applique alphabets.
Way 1 For Perfect Applique Alphabets

At this stage, machine-applique letters are made by the standard backstitch method, creating zigzag stitches along the fabric’s edge. When you do not have the patience to do this yourself, it is very easy to do with your sewing machine.
Step 1: For the perfect Applique alphabets iron and remove all wrinkles from your appliqué fabric. Make sure the fabric is undamaged by any starch or sizing; if it is a previously cleaned garment, prewash fabric, otherwise your applique will lose shape on the fabric.
Step 2: Iron a fusible interfacing piece to the back of your fabric piece for applique. The interfacing is then added to develop some additional weight in the fabric of your garment. If you stay clear of this, skip the interfacing step.
Step 3: Keeping the letter will be willing to cut out the applique from the cloth; alternatively, you can utilize carbon paper to trace the letter outline.
Step 4: Pin or tack stitch this fabric onto receptive task, so that it would not shift in the course of the sewing operation.
Step 5: Attach the attachable toe-foot embroidery sewing machine foot you possess. In these scenarios, you can utilize your zigzag foot instead. If you don’t currently possess the foot, you are not obliged to put it. However, it works more easy with the zigzag foot. If you have the zigzag foot placed, turn the stitch knob using the from straight to zig zag direction the sewing.
If you stitch loosely around an outline, use a length of 1.5 for the zig zag stitch; use a dense satin stitch with a high stitch length for satin stitches. My stitch width is 2, but this is based on the applique you are stitching as well as your own choice.
Way 2 For The Perfect Applique Alphabets
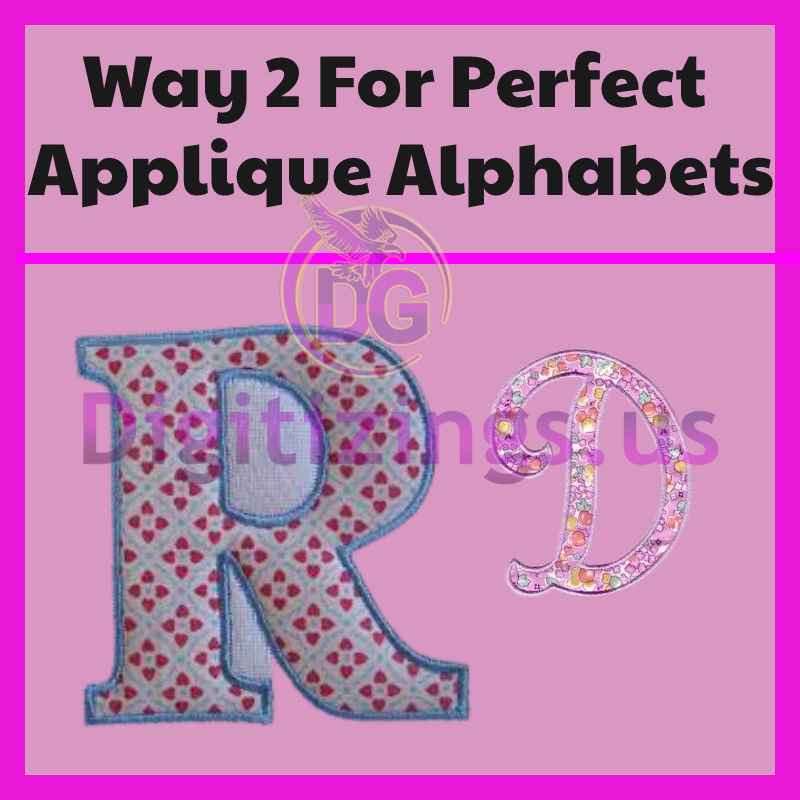
You can make a type of facing or lining for the perfect applique alphabets with thin adhesive interfacing. The advantage of this method is that it can help create your applique look just like it is floating on your main fabric with a few clever invisible stitches.
When you’re going to design your letter for this method, be sure to take care that the parts of the letter are not connected. When this happens, you need to create a seamless line and construct it so the disconnected parts do not align.
Step 1: Take your printout of a letter. Mark one 1/8 inch or 1/4 inch all around the letter. Make an outline along these markings, then transfer this to your applique fabric.
Step 2: Place the printout of the letter on the top right corner of the applique fabric. Mark the letter outline with a carbon paper. Alternatively, cut out the letter and cut out the letter from the fabric. Take the small fastener pin and attach it to one end of the letter, on the top right corner.
Step 3: Take a piece of fusible interfacing, big enough to accommodate the perfect applique alphabets. Put it in front of you, with the sticky (shiny) side up.
Step 4: Place the letter cutout in the interfacing (sticky side up)as shown in the picture. Lay out the letter and the interfacing (sticky side up) as seen in the photo below. Use a sewing machine foot to sew the two pieces together using the 1/8-inch or 1/4-inch seam allowance.
If you cut 1/4-inch seam allowance off, cut toward the inner stitching line, leaving only 1/8-inch seam allowance; clip generously every second inch; you’re moving to the opposite side, and so you desire smooth edges.
Step 5: Make a tiny hole on the back of the item (by the interfacing). Turn this part to the right side.
Make your turns smooth. Tadaa You have your finished applique piece, which can float on the fabric, with no raw edges to cope with.
Use a slightly hot iron to smooth the wrinkles. Keep a sheet of paper below it so it would not stick to the ironing board.
Step 6: Press the fusible interfacing so it is positioned on your main piece with a hot iron.
For hand applique stitch and blind stitch hand, blind stitch sewing machine, and simply basic satin stitch or straight stitch along the edge as I have practiced, there are many methods for stitching this appliqué letter to your material.
If you have trouble sewing with the needle, use the go toe presser foot that is not obstructed and you can see where you are stitching. Start stitching.
Way 3 For The Perfect Applique Alphabets

If you are uncertain concerning the many steps needed for a simple letter shape, or you are not concerned about fraying the edges of the applique, the easiest option for you would be to glue right onto the back of the applique letters that you already had cut. You don’t have to sew anything here. Simply sit back and relax!
The double-sided fusible adhesive is available, and all you have to do is cut it to the dimensions you require. The sheet is made of both an impenetrable adhesive on the one side and a peelable on the other. One side has a piece of paper that you can trace onto the shiny side, and the other has a shiny paper backing which can be peeled off.
The backside of the applique fabric piece and the shiny side of the fusible adhesive are attached together with ironing as would be done with fusible interfacing. After applying the applique, you simply peel off the back and place your applique as desired. Straightforward.
One word of warning when it comes to this method is that the producer may assert a fusible adhesive can be washed and dried devoid of suffering peeling of some items may not endure washing. So be aware that you should not exploit this method on things that you intend to clean.